
Announcement: Qualified now Integrates with Lever
We're excited to announce Qualified's integration with Lever's ATS!
Your hiring process just got better. Qualified's new Lever integration enriches the experience of Lever's dynamite talent relationship management systems. Qualified's Lever integration automates sending candidate assessment invitations based on Lever's Trigger Stages and Tags System.
While candidates progress through the assessment pipeline, tags automatically update with language like "Invited", "Started", and "Submitted" to best track progress. Instead of toggling between sites, candidates' assessment results automatically populate into Lever's Candidate Notes for a streamlined experience. All of your candidate information, all in one place. Take a closer look at how you can get started today.
Initial Setup
Through Lever's Partner Program, when you assign a special tag to a job opening or candidate, you will be able to automatically:
- Send assessment invitations to candidates based on their tag
- Update candidates' tags based on their assessment progress
- Receive assessment results directly to Candidate Notes.
Note: If your Qualified subscription does not currently include ATS integration features, contact Qualified's sales team for assistance.
Step 1: Link your Lever Account
If your Qualified subscription includes ATS integration features, simply navigate to the Integrations Page within your Qualified account and locate the Lever section.
Step 2: Log in to Lever
Click on "Log in to Lever". You will be redirected to Lever to enter your log in credentials. Logging in connects your Lever account with Qualified. Once logged in, you will be redirected back to the Integrations page on Qualified.
Step 3: Activate Trigger Stage
Once back to the Integrations page on Qualified, click on the "Add Trigger Stage" button.
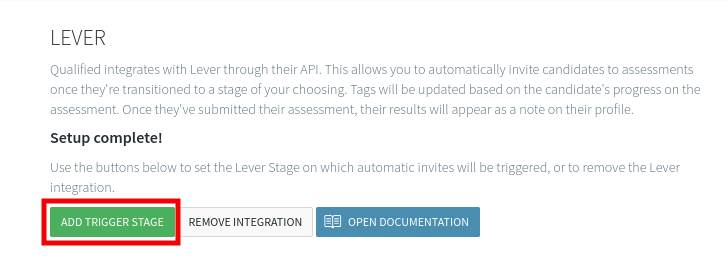
On the pop-up that opens, you can choose which stage from your Lever account you want as a "Trigger Stage." Once candidates transition to the chosen Trigger Stage, an assessment invitation will be automatically sent based on their tags.
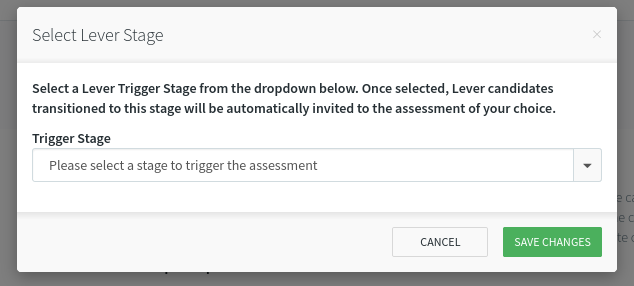
Note: you can only choose from Stages that already exist on your Lever Account.
Step 4: Enable Webhook
Lastly, return to your Lever account and locate the "Webhooks" tab in the "Integrations + API" section of your account settings. A new webhook directing you to Qualified should exist under "Candidate Stage Change". Enable "Candidate Stage Change" and your set up is complete.

Inviting a Candidate to Take an Assessment
Once you've successfully linked your Qualified and Lever accounts, selected your Trigger Stage, and enabled the webhook, you're ready to send assessments! Let's walk through how to send your first assessment through Lever. Note: If you haven't completed one or more of the aforementioned steps, please revisit "Initial Setup" before sending assessments.
Step 1: Verify Assessment Tag
Pay close attention to the Assessment Title you invite candidates to take. You can see the Assessment Title here:
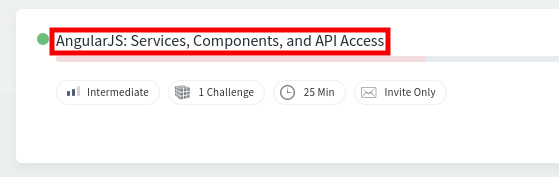
To invite candidates to take this assessment, add the assessment title as a tag on either 1) the specific candidate or 2) a specific job. published

Step 2: Transition Candidate to Trigger Stage
Once the tag is set, transition the candidates to the trigger stage you selected during the initial integration setup. Candidates should be invited and the tag should change from "Assessment Title" to "Assessment Title - Invited". *Note: only new candidates will be sent an invitation. Existing candidates will be skipped. *
Step 3: Tags Update Automatically
When a candidate begins the assessment, the assessment tag will change to "Assessment Title - Started". Once the assessment is submitted, the tag will change once again to "Assessment Title - Submitted". Assessment results will then populated into the Candidate Notes.
For more information on how to integrate Qualified into Lever, check out our docs or contact your Qualified sales associate.